There's no question that having good thumbnails definitely helps make your videos stand out in the YouTube search results. When I realised their importance early on, I started giving them extra attention and planning them out after filming each video. This is something that is very easy to forget once you've finished filming, and so I usually write the word 'thumbnail' at the bottom of any notes I've made, to remind me!
It's generally much, much better to take actual photographs and use these images, rather than taking screenshots, although I appreciate that this isn't always possible. Screenshots tend to be less sharp, although sometimes they do have the advantage of capturing the action.
Many YouTubers use PicMonkey to generate their YouTube thumbnails. This particular software is extremely popular, and in the past I have used this too. PicMonkey is an app that you can download to your phone or iPad, or use on a computer via the website. It helps you make your images look more eye-catching, with the use of shapes, frames, fonts and templates. I prefer to use Adobe Photoshop, because I find that Photoshop gives you complete control over everything, as long as you have a clear idea of what you are trying to achieve in the first place.
Adobe Photoshop, as well as similar photo editors, is a very powerful tool for editing and improving photos. It is obviously perfect for creating YouTube thumbnails, but in order to get the most out of Photoshop, you do need to get to know this software initially and also get used to the principal of using different layers for images, which can be confusing. On the other hand, PicMonkey may be more basic, but it is designed to be easy to use, with little prior knowledge being necessary.
Once you have created your image, or merged multiple images together, and perhaps added a suitable background (copyright free obviously!), you need to turn your attention to the font. If you've planned your layout properly, you will have left space to add your title, without covering important parts of the thumbnail image. Of note, try to be brief, don't use too many words, and select a large font size.
The choice of fonts is almost endless and I have managed to find a group of favourites, which stand out well and are easy to read when the thumbnail is small - this is a very important consideration. I generally like fairly bold fonts and if they are difficult to see against the background colour, I either try different fonts and colours, or add plain boxes of colour beneath the words. My favourite website for downloading free fonts is dafont.com.
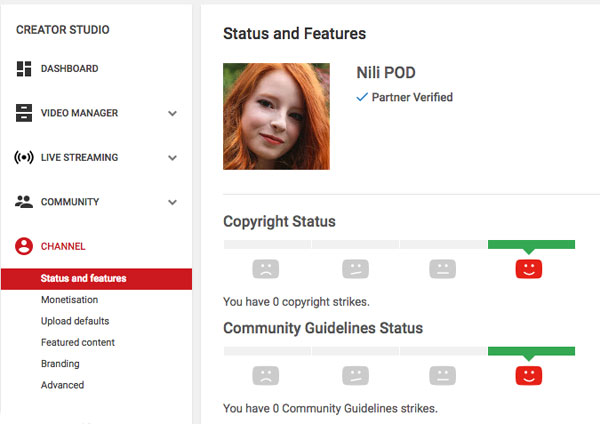
I thought it might be useful to show how I've made some of my favourite YouTube thumbnails, and why I chose these layouts. Of note, the recommended proportion and resolution for YouTube thumbnails is 1280 x 720, which is a 16:9 ratio. This will fit the YouTube screen perfectly. These custom images can be added through the video manager screen, but if this option is not available, then you will first need to verify your account. To do this, click on the Video Manager link on the YouTube control panel, and then Video Channel / Channel Settings / Verify / Text. You will then be required to 'Enter Verification Code' which will be sent as a text message to you.
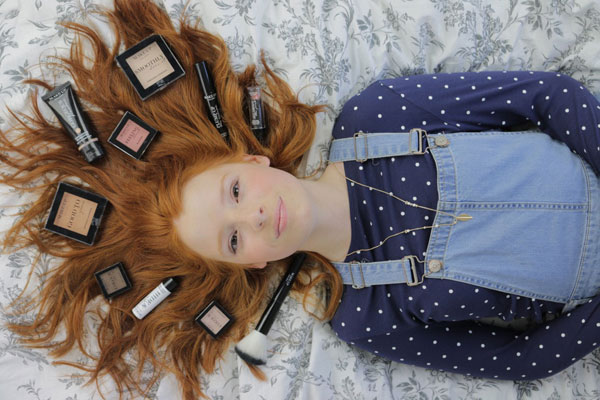
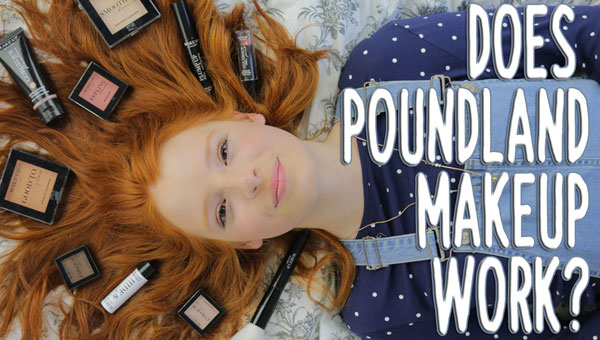
DOES POUNDLAND MAKEUP WORK?
For this makeup review, I thought that it would be fun to take an aerial photo of me lying on the bed, with the Poundland makeup products arranged in my hair.
This shows the first arrangement of titles, although the word 'Does' seems a bit lost on the thumbnail.
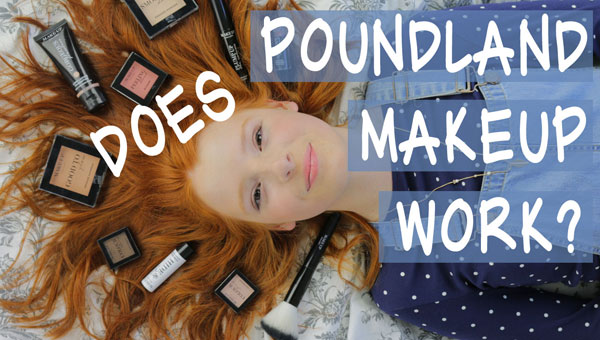
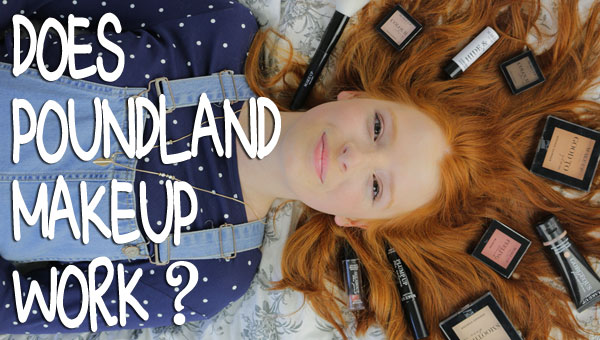
I thought it might be better to try the words arranged on the right, adding an outline to the font.
I then flipped the image over and moved the words to the left-hand side, because I felt it was easier to notice them on YouTube's search results page.
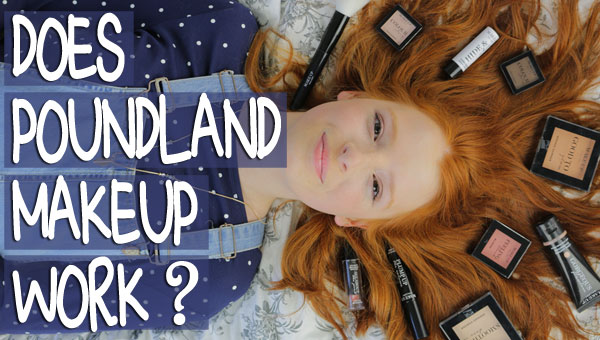
Finally, I added another layer with faded blue rectangles behind the letters (font Michelle Digital Handwritten), so that the title stood out more.
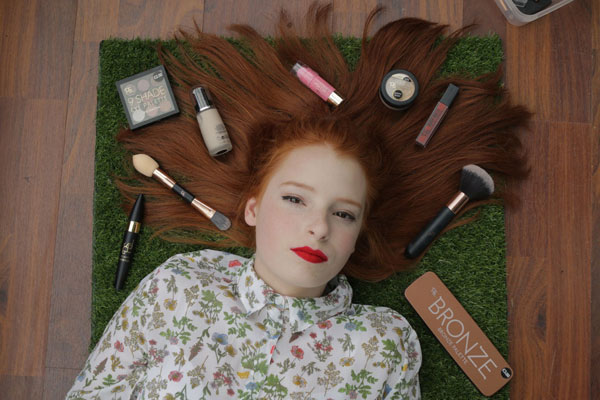
PRIMARK MAKEUP TESTING
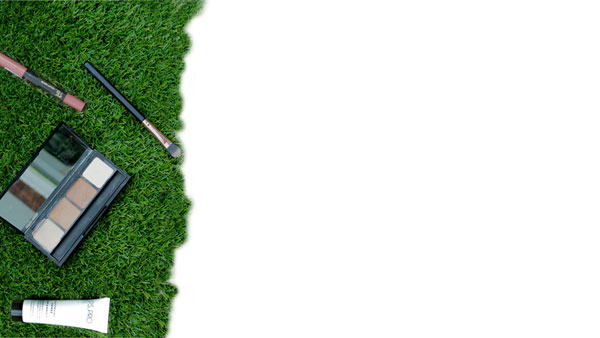
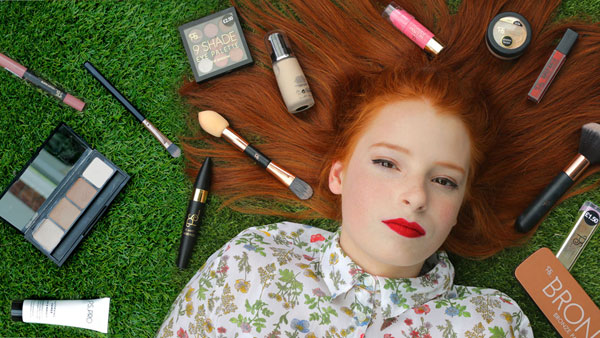
I wanted to create a similar thumbnail when I tested the Primark makeup, but this time lying on some fake grass. However, the lighting was fairly dull and the grass mat was a bit on the small side.
After improving the brightness and enhancing the colour on the original image, I cloned the grass and extended the background, adding in some png images of the Primark makeup that I'd tested.
This image shows the basic thumbnail, with the extended background and improved colouring.
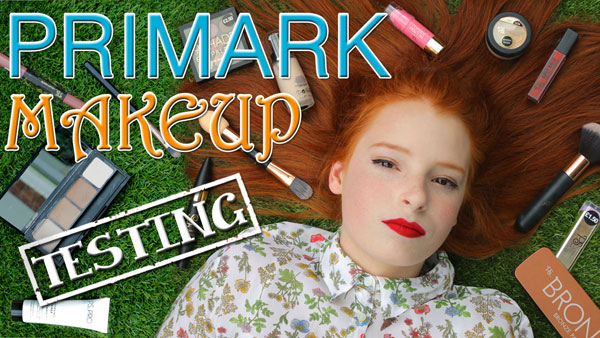
Space was left to add the words on the left-hand side of the thumbnail. I chose a font that matched the Primark logo, and different themed fonts for the other words, in contrasting colours. The fonts used here are Helvetica, Harrington and Janda Curlygirl Chunky.
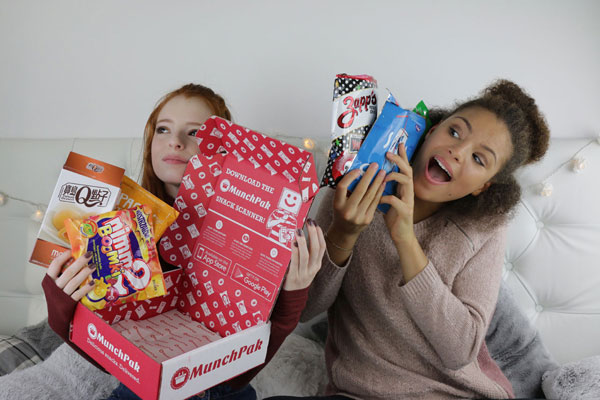
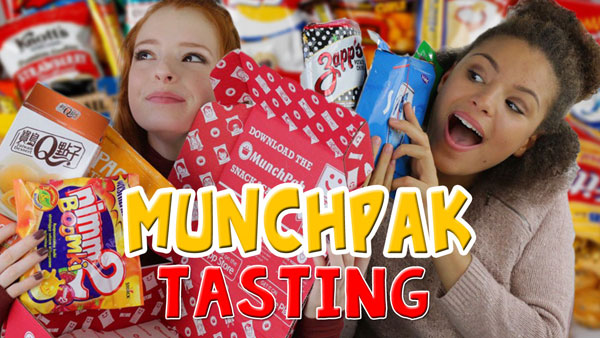
MUNCHPAK TASTING
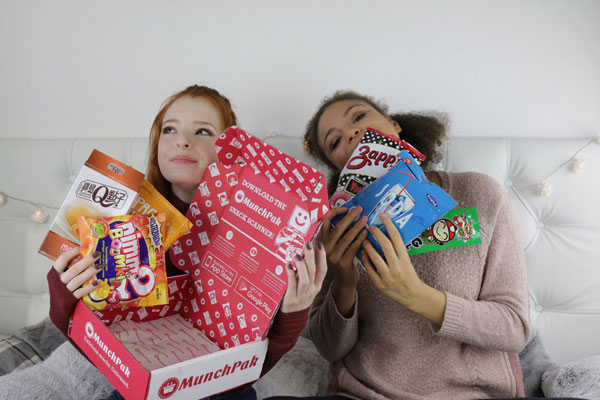
When I take YouTube thumbnails with a friend, usually it's really hard to get an image of us both smiling or posing nicely at the same time. Here I decided to cut me out on the left.
And then I used Photoshop to cut out Zena on the right.
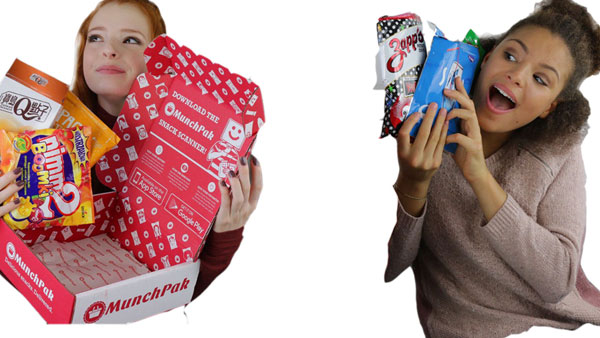
This shows the two of us now as completely separate images, allowing me to move us closer together and into the exact required position.
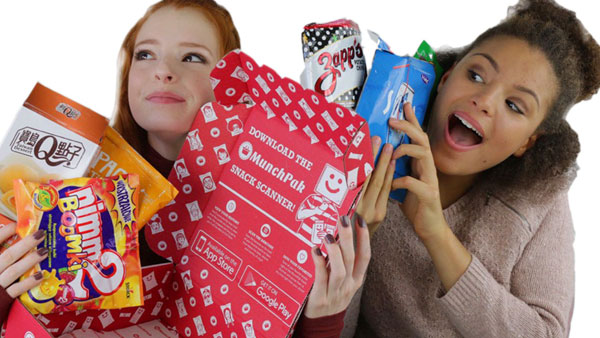
The thumbnail was then cropped to make us larger and our faces more prominent, as well as the red Munchpak box.
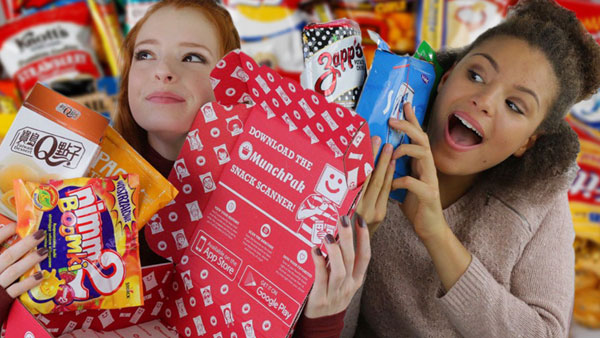
I added in a colourful background of junk food and blurred this, to make us stand out more and not get lost against the background.
Finally a bold font was chosen, with white borders added to make the words 'Munchpak Tasting' stand out clearly when the image is displayed smaller, on YouTube. Prominent bright red and orange shades were used for this font (Badonk-a-Donk and KG Summer Storm Rough), to match the background colours.
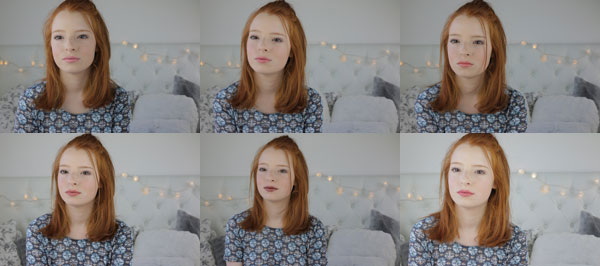
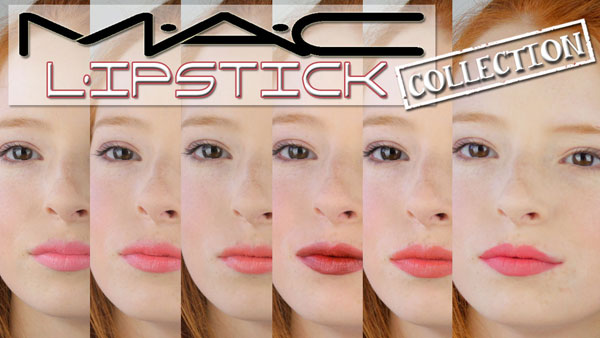
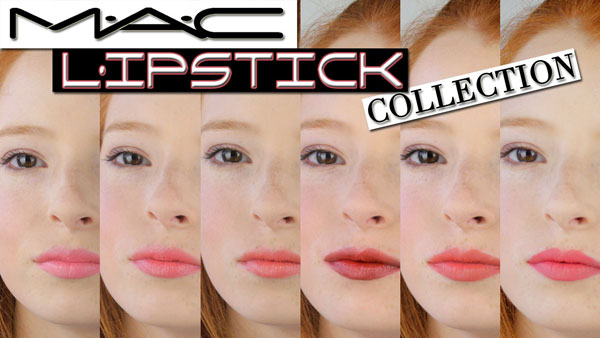
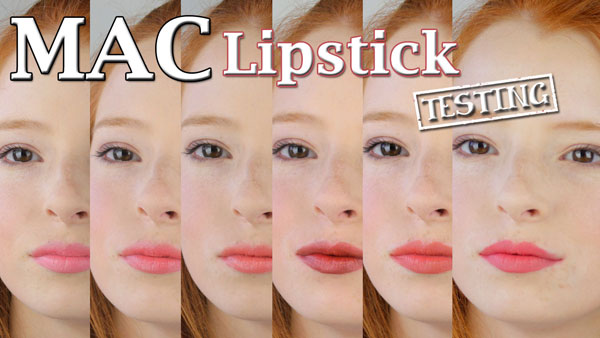
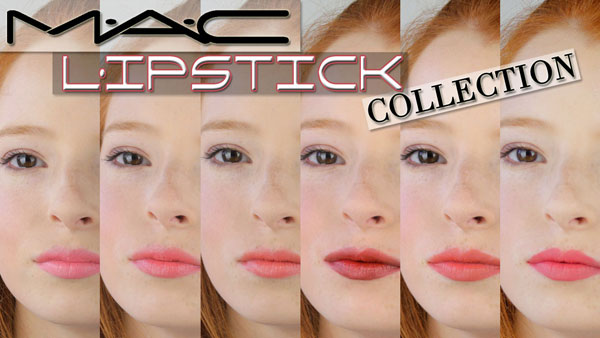
MAC LIPSTICK TESTING
This particular thumbnail took a lot of planning and work. As I was talking about my collection of Mac lipsticks in the video, I thought it would be eye-catching to make a collage of my different lip shades. Therefore, after each time I showed the lipstick in the video, I took a photo before trying the next one.
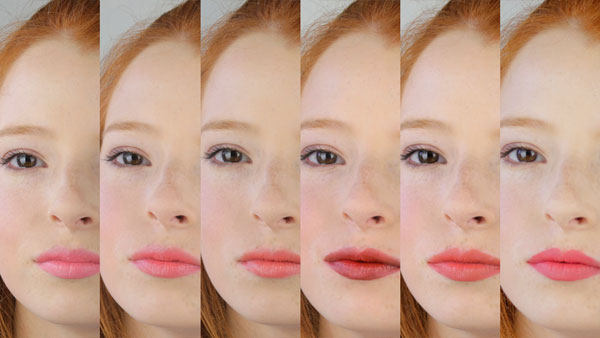
This image shows the collage of my face and lips, side by side, with the colour improved and more contrast to the photos.
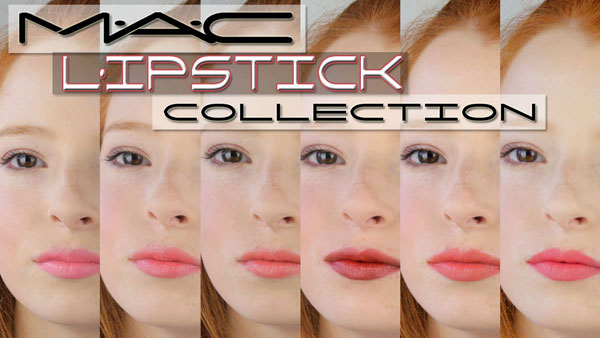
Finally, these images show how I played around with different fonts and layouts, before deciding to use the final thumbnail saying 'Mac Lipstick Collection' for my uploaded YouTube video.
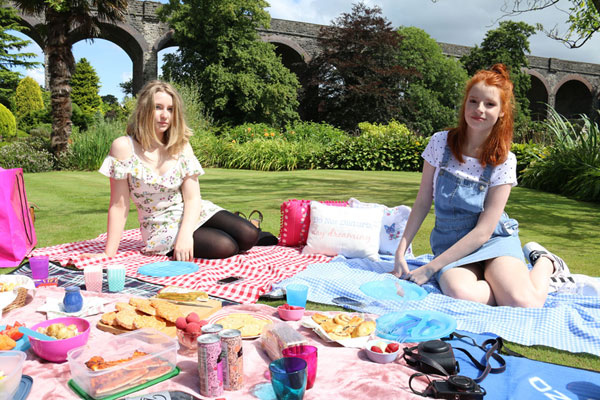
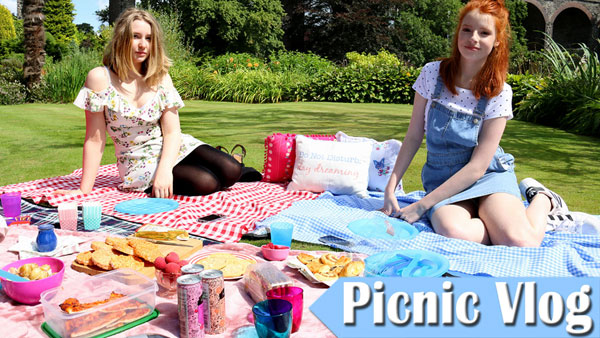
PICNIC VLOG
Sometimes YouTube thumbnails can actually be really easy to make. For my Picnic Vlog, we simply laid our our food nicely and posed for a picture in the sunshine.
Then I simply added the title at the bottom right, where there was a suitable blank space, using a blue background to make the words stand out (font Britannic Bold). The blue shade also matched the colours from the picnic blanket and my dress.
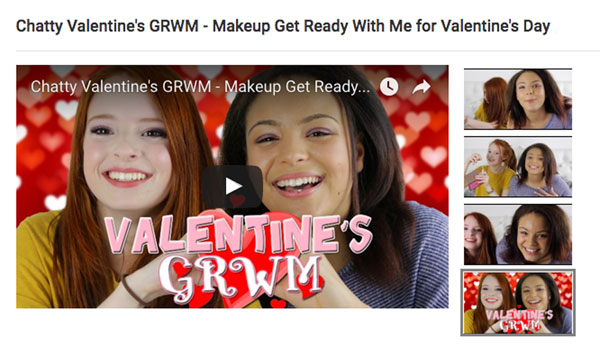
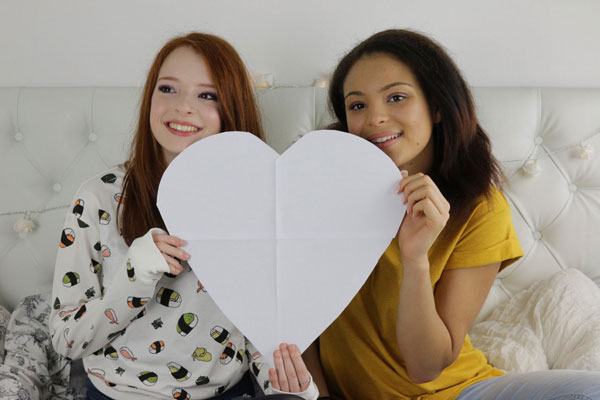
VALENTINE'S Q&A
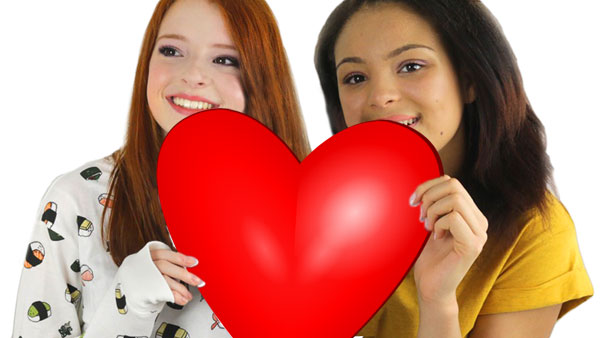
For my Valentine's Day Q&A video, I decided to write the title on a love heart that we were holding. I therefore cut out a big white heart shape, so that we could get our hands in the right position.
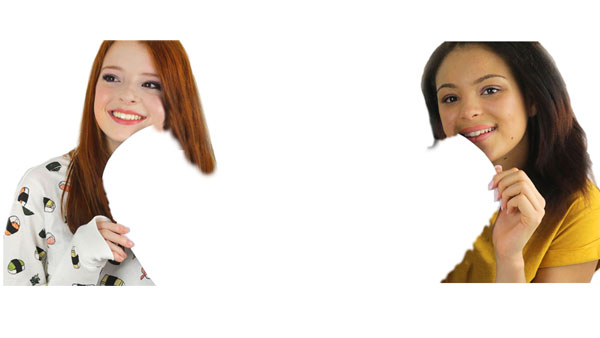
I then cut us out individually using Photoshop. This mean that I could then move us into exactly the right position to add in a red love heart.
This is the thumbnail so far, with a cartoon-style love heart added, but no background yet.
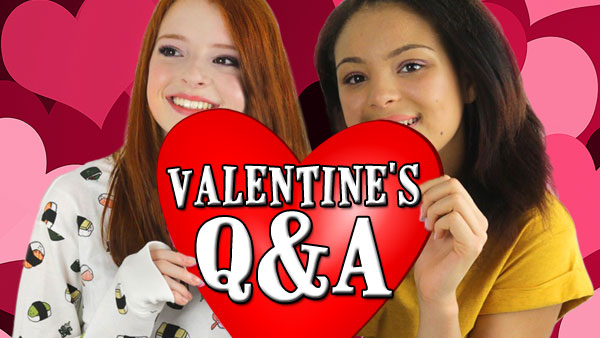
I played around with different backgrounds, although I think that this one was a little bit too pink. The font used here for 'Valentine's Q&A' is 'Horseshoes'.
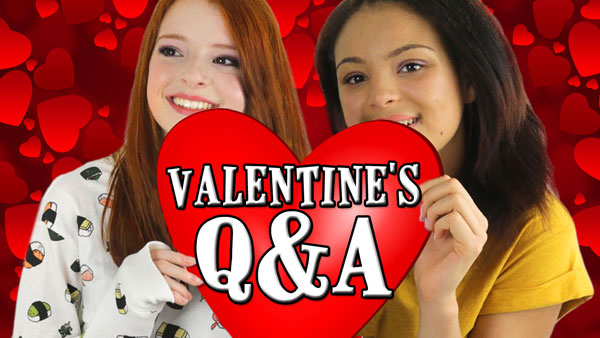
I decided that a red heart background was most suitable, making the thumbnail stand out with a clear Valentine's vibe.
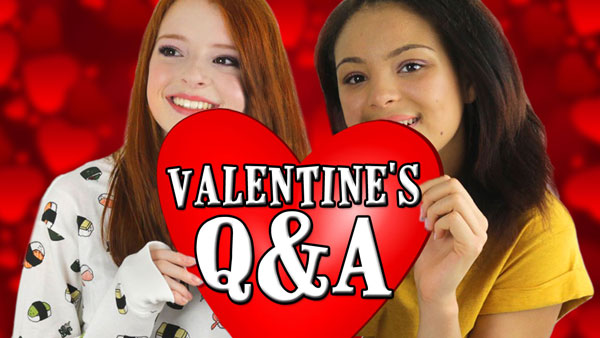
For the final tweak, I blurred the background slightly (using Photoshop blur / gaussian), which brought us more to the foreground.
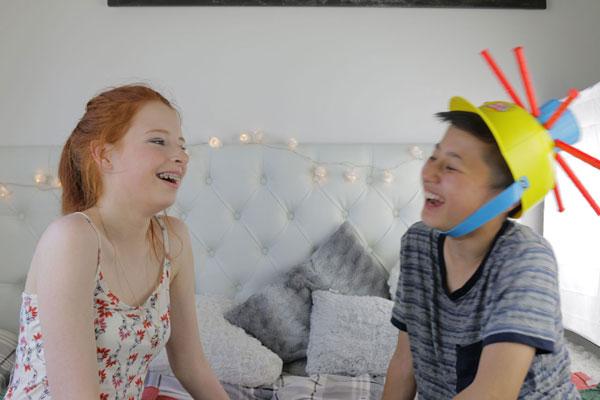
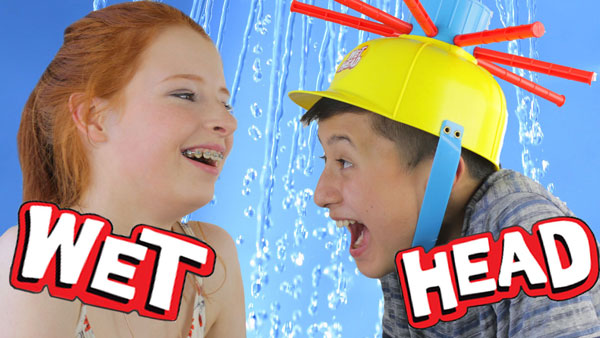
WET HEAD
For my Wet Head thumbnail with my friend JJ, I chose two separate images. I cut out me laughing from this image.
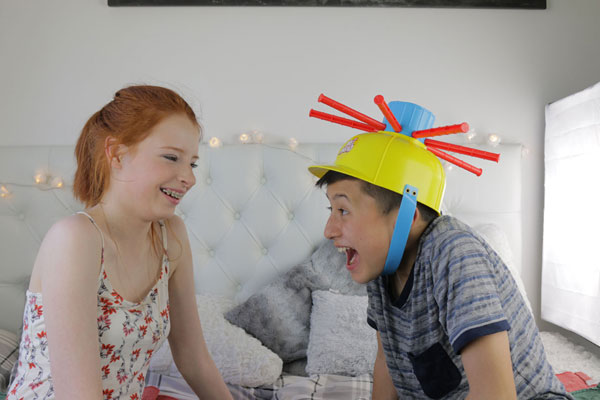
And then JJ from this image.
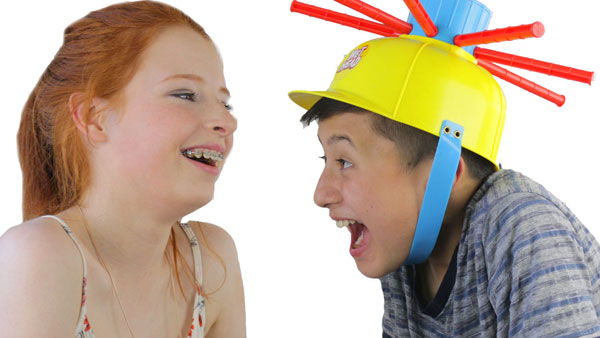
Using these two separate images of us, I was able to position me and JJ closer together and crop us tightly, to make our heads larger, ready for a suitable water-themed background.
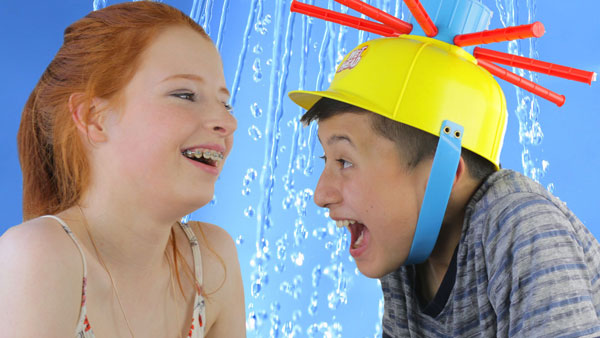
I found a blue shower background, which I thought was perfect, as the water would appear in the middle, in between us.
To finish the thumbnail, I used the actual Wet Head logo from the game, splitting the words either side.
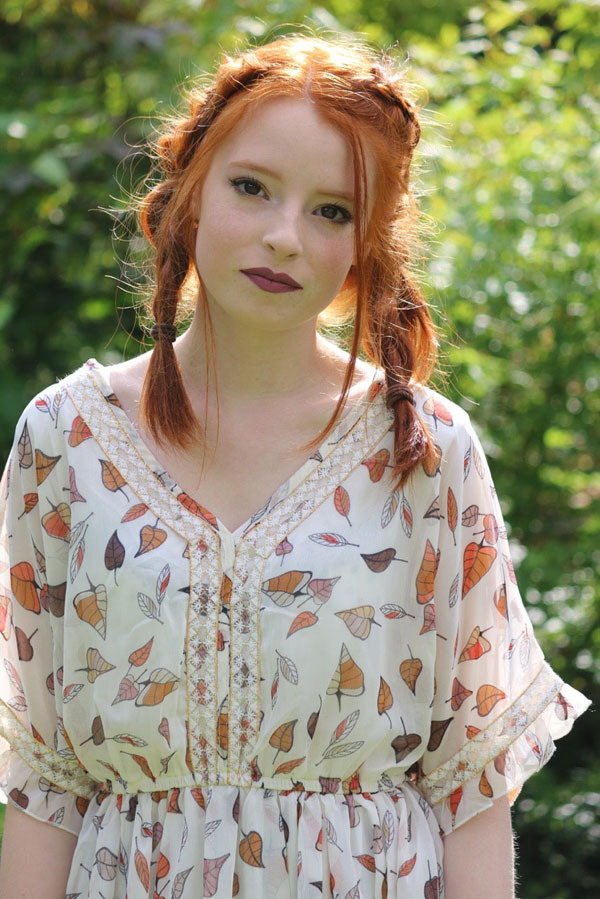
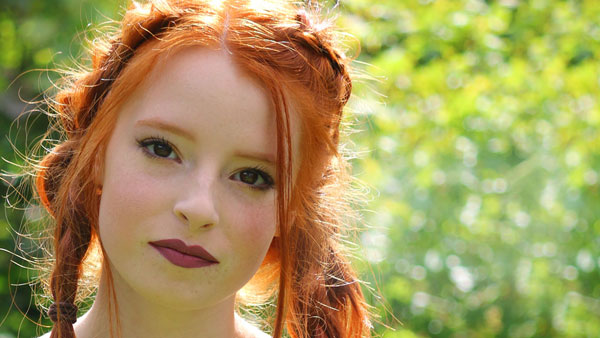
LUSH AUTUMN MAKEUP
I was playing around with autumn colours of Lush makeup and after I'd finished, I went into the garden to take some portrait shots. By using a zoom lens from a distance, the background becomes blurred. I find that the position of the sun is really important for portraits, and here the sun is directly behind me, making my hair glow. A reflector screen was used to lighten my face in a natural way.
The image was lightened slightly and the colour enhanced, before cropping the thumbnail to the necessary YouTube proportions. Space was left to add the words on the right-hand side.
I downloaded a png version of the LUSH logo, before using a different font and autumnal colours of orange and yellow. All of the fonts were given shadows, to make them stand out better and look less flat.
DECEMBER FAVOURITES
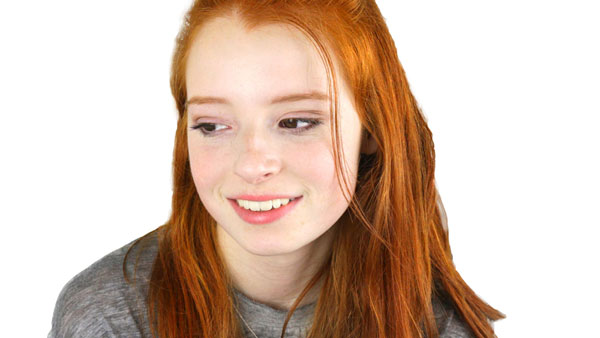
When I create thumbnails for my monthly favourites videos, I start off with a simple photograph of me, taken at the end of filming so that I'm wearing the same clothes and makeup.
Here I have lightened the image of me, saturating the colour slightly and removing the background. I then cropped my face to make it larger.
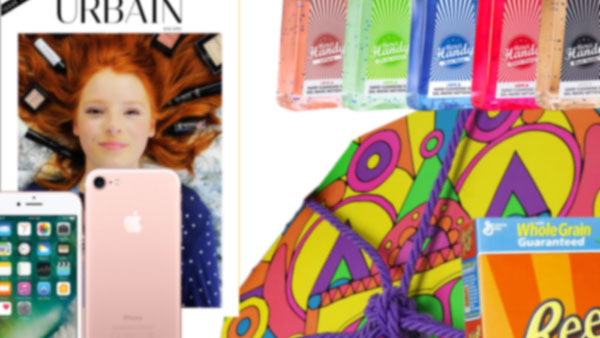
For my favourites, I always pick out a selection of the best and most colourful faves, arranging them around the edges of the image, before merging them together and blurring them slightly. Being blurred means that they are less prominent and don't dominate the arrangement.
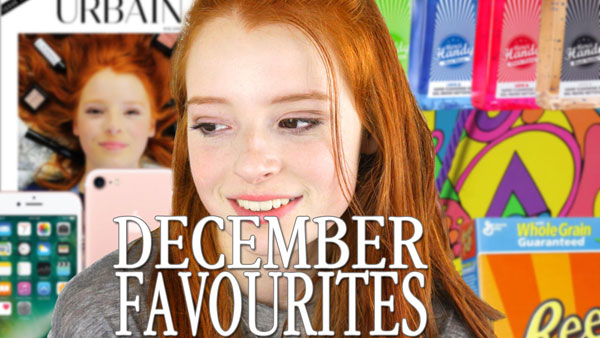
After adding my face to the foreground, I finished off the thumbnail with the words 'December Favourites', using the font Gar-A-MondTall.
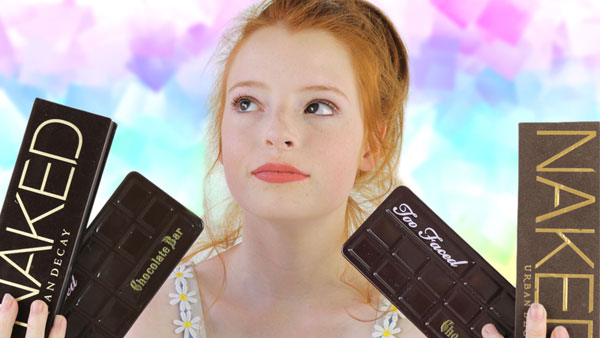
FAKE EYESHADOW PALETTES
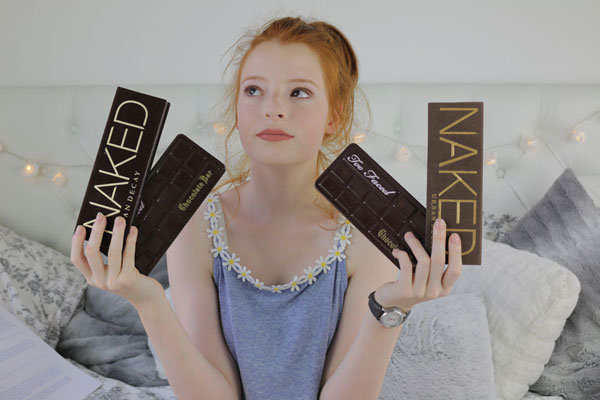
Often on makeup videos, I like to hold up the products for the thumbnail, to make it very clear from a distance what the video is all about. Here I'm holding four different eyeshadow palettes, fake and real.
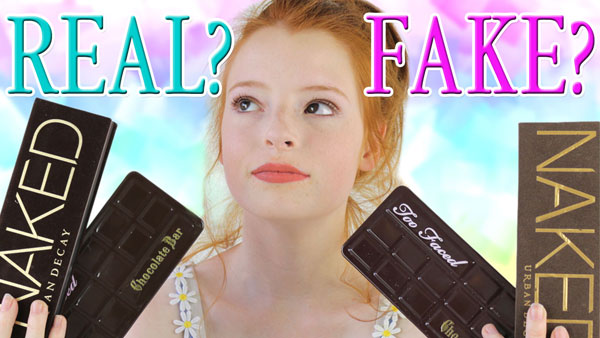
After removing the background, improving the colour and cropping it closer, I chose an abstract gradient background.
I picked the contrasting colours of turquoise green and purple for the font Gar-A-MondTall. The title was added either side of my face and above the eyeshadow palettes, so that it's clear this is a YouTube video about fake makeup.
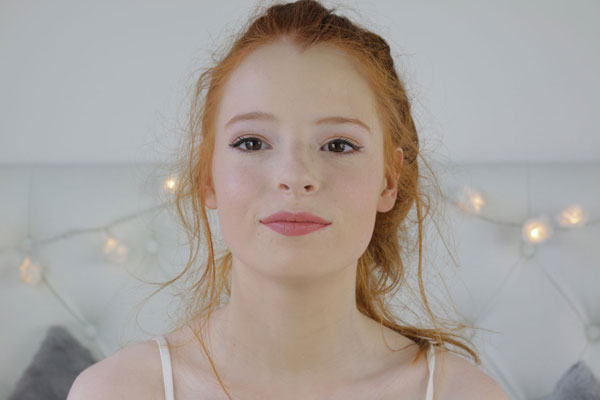
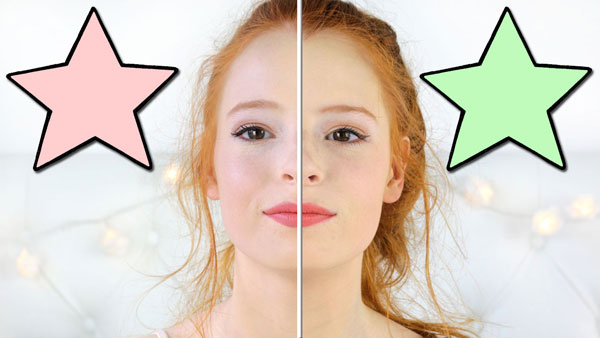
HIGH-END VS DRUGSTORE MAKEUP
This is a very self explanatory YouTube thumbnail, because I wanted to clearly show that high-end makeup is on one side of my face, while cheaper drugstore on the other.
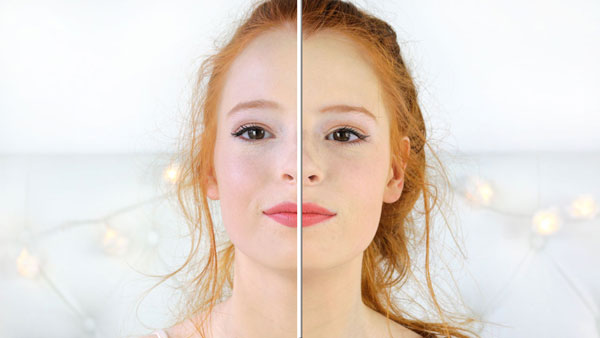
After lightening the image and saturating the colour slightly, I added a white line (with a shadow) down the middle, to divide my face in two. I kept my bedroom background behind me, because it was fairly neutral, with soft fairy lights and my studded headboard being slightly blurred.
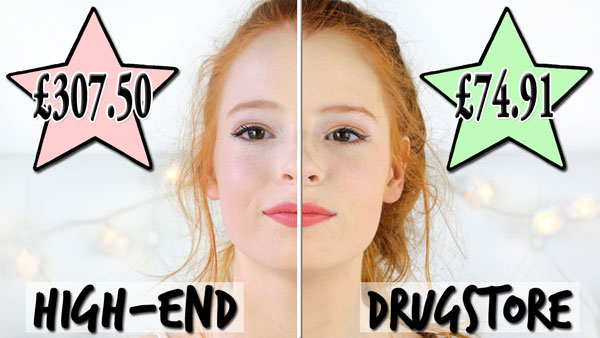
I drew some stars either side of my head, adding shadows to these shapes so that they appeared more three dimensional.
In each of the stars, I wrote the relevant prices with a white outline for the font (Adobe Garamond Pro). Beneath the stars, the words 'High-End' and 'Drugstore' were written, using the font TrashHand in a black colour, over white rectangles.
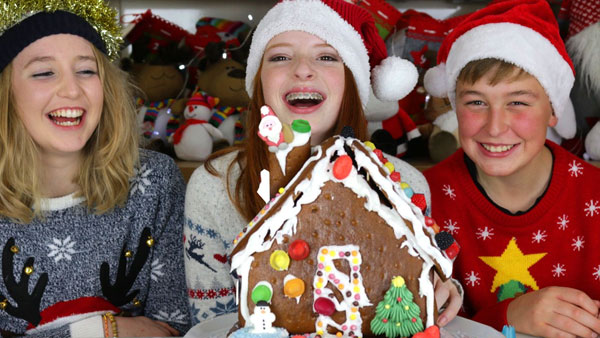
CHRISTMAS GINGERBREAD HOUSE
When I pose for YouTube thumbnails, I always like to take loads and loads of photos, so that I have plenty to choose from.
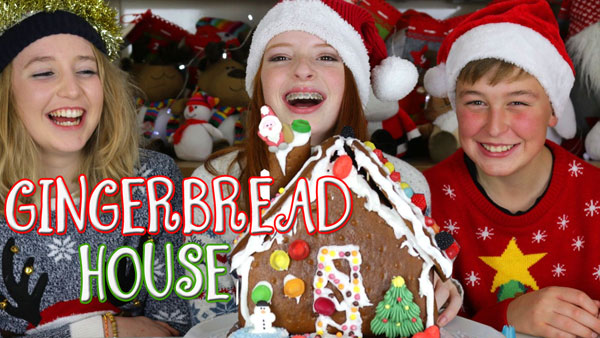
For my Christmas Gingerbread House video, I managed to find an image where all three of us were smiling and looking happy. If this wasn't possible, I would have Photoshopped different images of us together to create the best thumbnail possible.
I then used typical seasonal Christmas red and green colours to outline the words 'Gingerbread House', using the font Summer Swirl Demo.
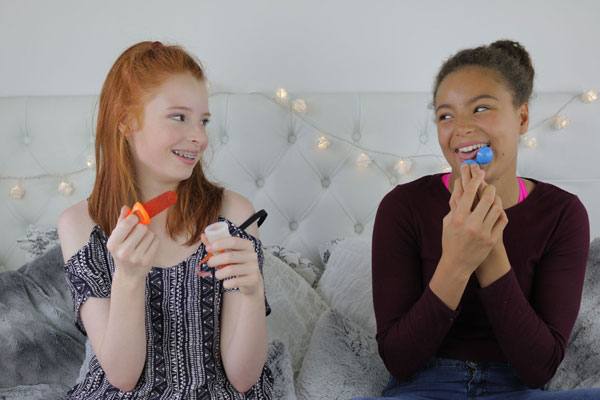
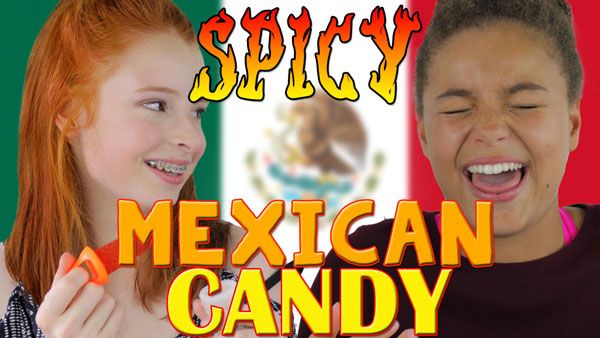
MEXICAN CANDY TESTING
Tasting sweets from different countries is always a laugh, and I think that it's important to make the thumbnails look fun.
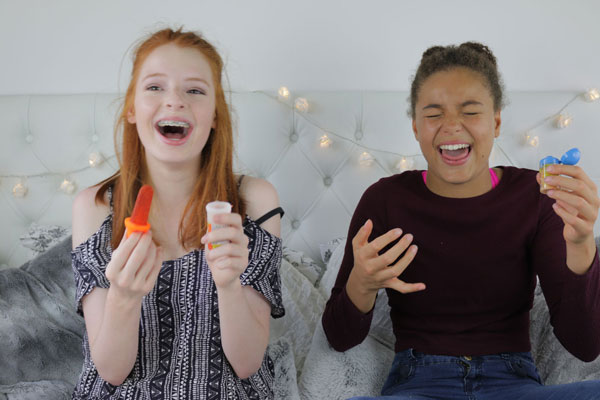
After filming our Mexican Candy Tasting Challenge, we posed for a series of different thumbnails. I decided to choose my face from the first, and my friend Zena's from the second.
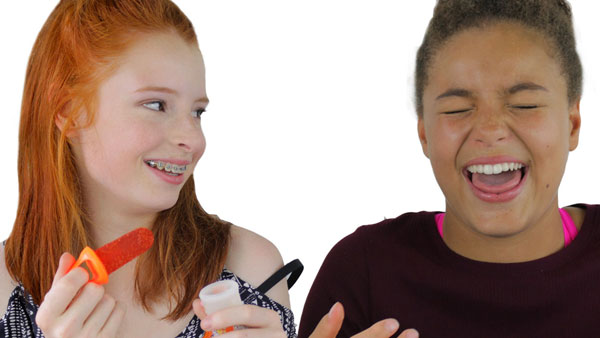
I then cut us out from each photo and combined these images together, to make it seem like I was looking at my friend laughing. I moved us closer together and then cropped us tighter, ready to add the background.
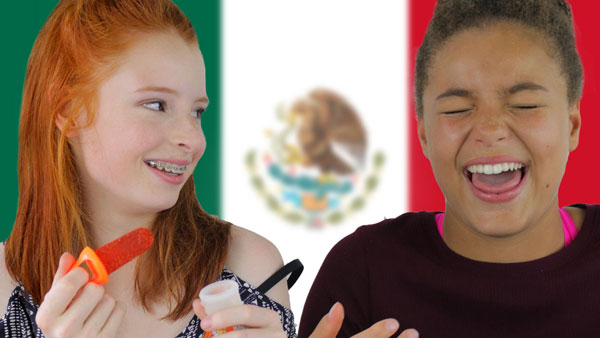
I chose to add a flag of Mexico and blurred it slightly. I thought that a flag was the perfect background, since it displayed the nationality clearly.
As the Mexican candy was particularly spicy, I selection the flame-like font Seaweed Fire AOE for the word 'Spicy', using a gradient yellow to red colouring.
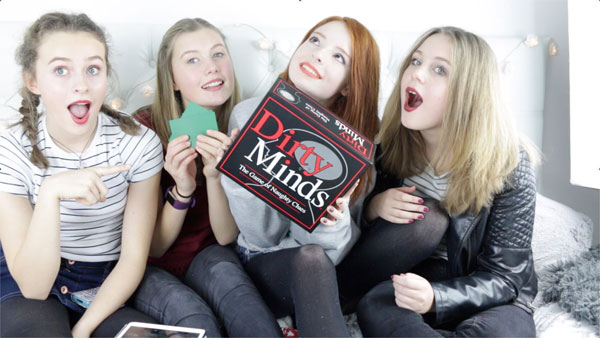
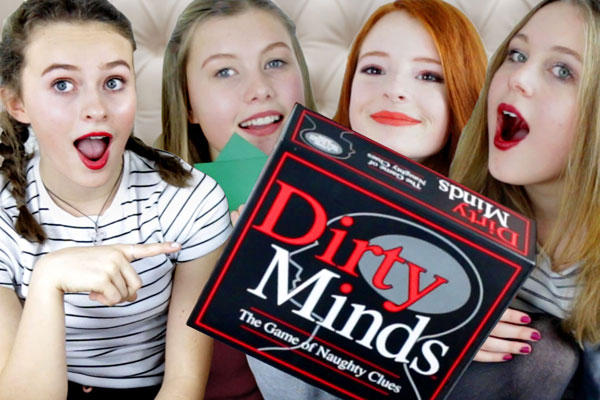
PLAYING DIRTY MINDS
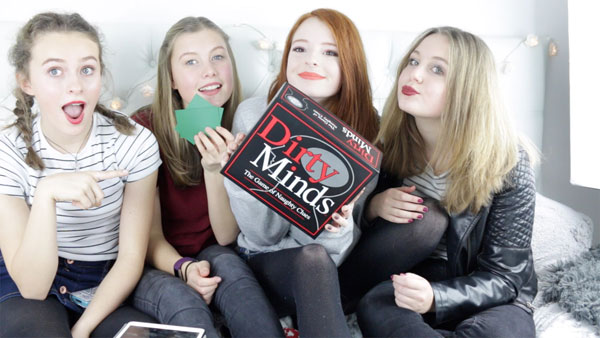
Taking thumbnails with my friends is always fun, but its a miracle if we are all smiling or laughing together, especially me! And it can be a challenge to squeeze a group of people together closely enough. So I decided to combine these two images together, after giving more contrast to the original photographs.
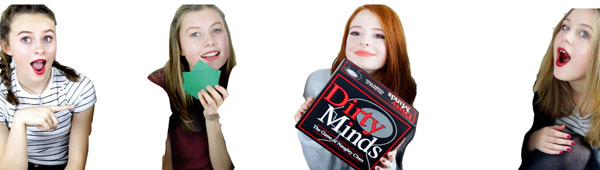
This image shows how I have used Photoshop to cut us all out separately, so that I could then position us closer together.
The final image has a neutral bed headboard background. I enlarged the 'Dirty Minds board game box, so that the writing was easier to read when the image is smaller on YouTube.
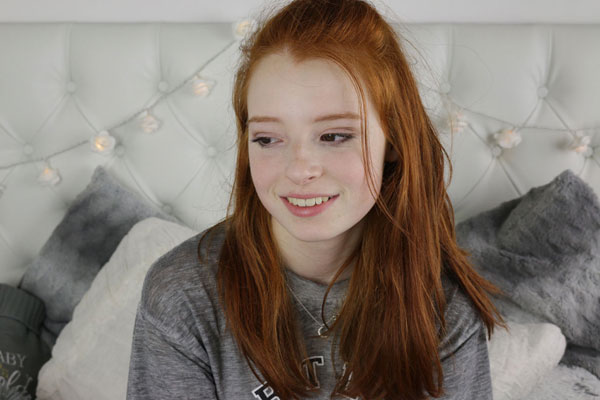
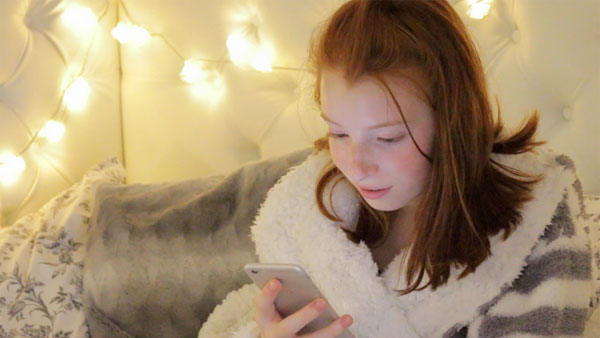
SPRING NIGHT ROUTINE
I took a selection of different images for my Spring Night Routine video, before choosing this one of me sitting on my bed in my dressing gown, looking at my iPhone with fairy lights blurred behind.
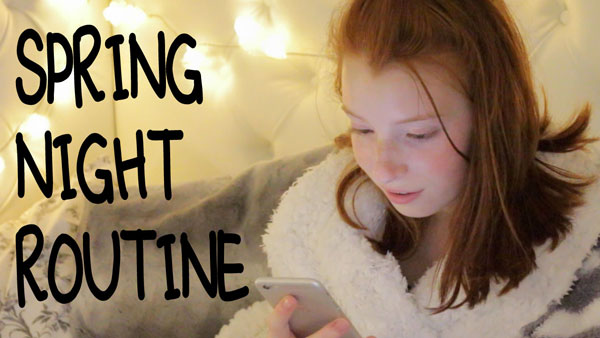
I left space on the left to add the words using the font Michelle Digital Handwritten.
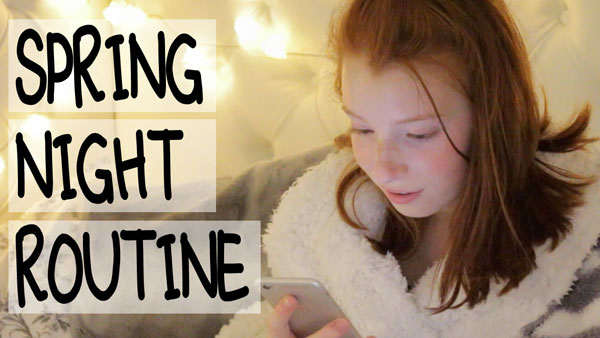
To complete the thumbnail and make the font stand out more clearly, I added three white boxes behind, reducing the opacity so that they were slightly transparent and not too solid.
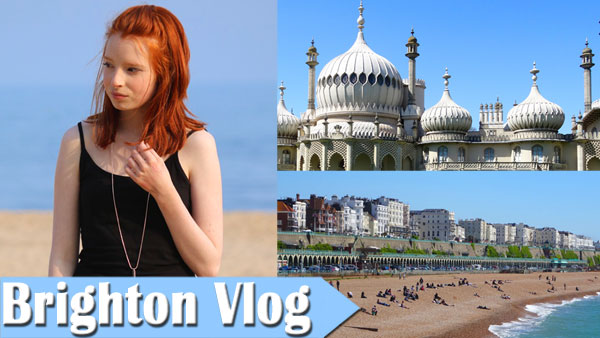
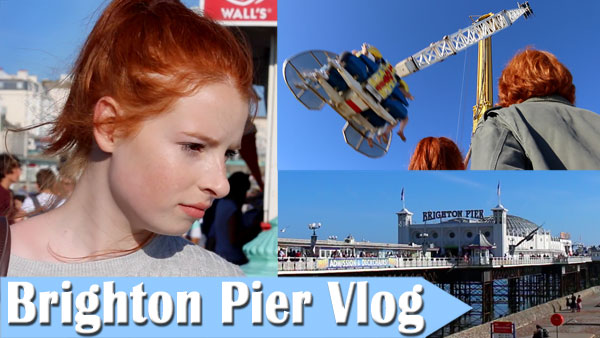
SCREENSHOTS AND VLOG THUMBNAILS
I find that the easiest way to create thumbnails for vlogs is to take screenshots from the actual videos, to create a montage that clearly shows what to expect if you watch the vlogs. Here I've used a standard template that I made myself in Adobe Photoshop, similar to those available in PicMonkey.

 There's no question that having good thumbnails definitely helps make your videos stand out in the YouTube search results. When I realised their importance early on, I started giving them extra attention and planning them out after filming each video. This is something that is very easy to forget once you've finished filming, and so I usually write the word 'thumbnail' at the bottom of any notes I've made, to remind me!